Account Administration
Account Drop Down Menu
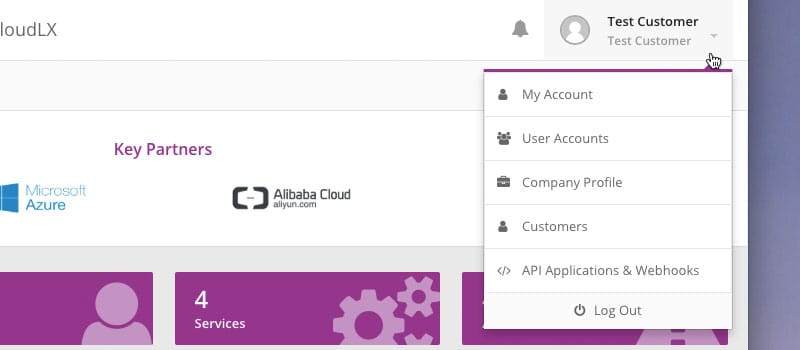
The Account drop-down menu in the upper right hand corner provides access to account administration.
CloudLX is structured around a portal where each Customer will have one or multiple logins, and to create or view status of their own Services.
For a Customer to be able to use the portal, they must first be registered. Each company must have an Admin User account created, who has the ability to create additional User accounts for other key members of the company. DC/Carriers (resellers) also have the ability to create accounts for their Customers.
My Account
My Account is for changing details and credentials, like contact details, passwords department memberships and a profile picture of the currently logged-in User. Please Note: Options available are dependent on your access levels and permissions.
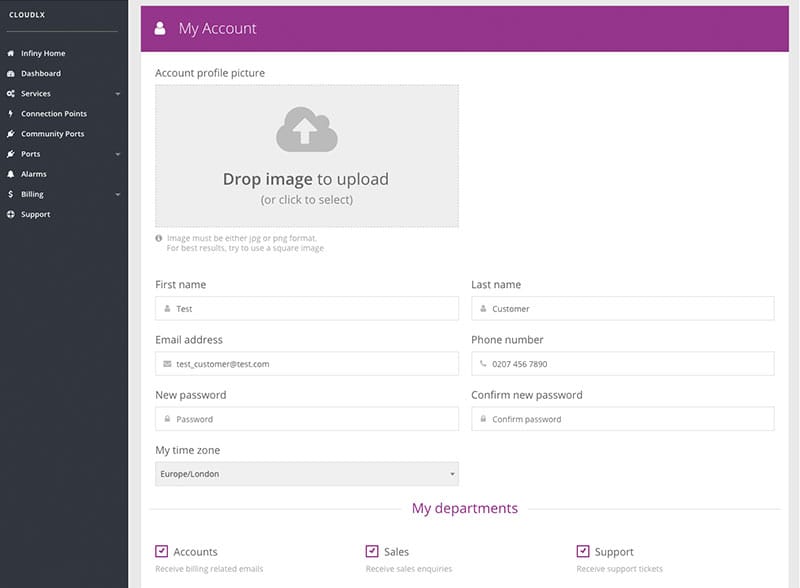
Password changes are confirmed via email to the email address of the User, and are also logged in the Portal Events table. Changes of login name/email address can only be performed by Admins and are also logged in the Portal Events table.
User Accounts
This provides an overview of all the User accounts created for a Customer (apart from the currently logged in User, which is detailed under 'My Account').
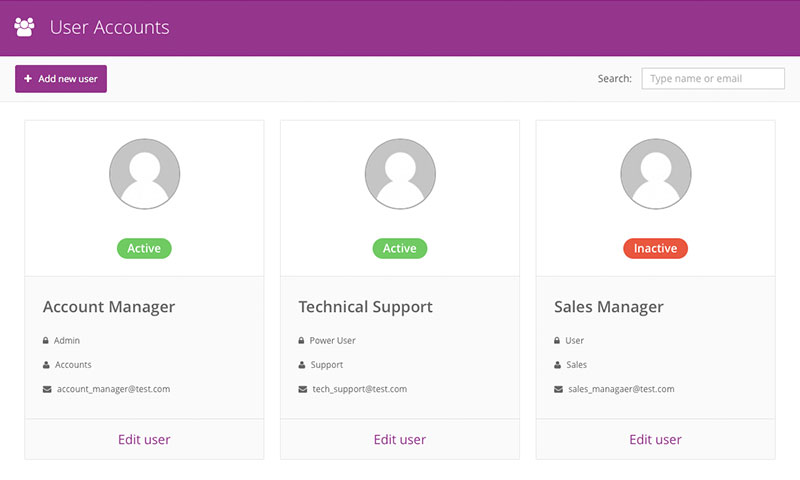
The User's names, status (active/inactive), Access rights, Group memberships and login/email addresses are listed. User's properties can be changed by clicking the 'Edit User' link, under each User. The properties are explained further below, as part of 'Create User Account'.
Create User Account
Admins or other Users with 'Write' access can create and/or edit Users. When setting up these Users, there are a number of permissions and User rights that can be assigned and controlled by the Admin User.
-
Click the 'Add New User' button.

-
Fill in the User details. Please note that the email address becomes their username. For this reason, it is strongly recommended that this is a 'live' email address, which is frequently used, so that system notifications are delivered as intended.
If the email address given for the username is linked to a Gravatar account, the profile picture will be taken from Gravatar.
-
Select the User's main role – the role will determine which emails the system will send to the User.
- 'Accounts' will receive emails relating to billing
- 'Sales' will receive emails relating to orders
- 'Support' will receive emails relating to support tickets

-
Select the appropriate access level for the User. CloudLX has five pre-defined levels of users:
Role Description Read Only Limited access to features in the portal. This includes viewing Ports, Services and Customers, but without the ability to add or edit anything User Access to most features in the portal, with the ability to rename and renew Services, rename Ports and raise support tickets Power User Full access to all features in the portal, including the ability to add and manage Services, Ports and Customers, but without access to User accounts Admin User Full access to all features in portal. This includes the ability to add and edit Services, Ports and Customers, as well as manage User accounts Custom Rights can be granularly tailored 
-
Once all the information has been entered, click the 'Add new user account' button to create the new user.

Company Profile
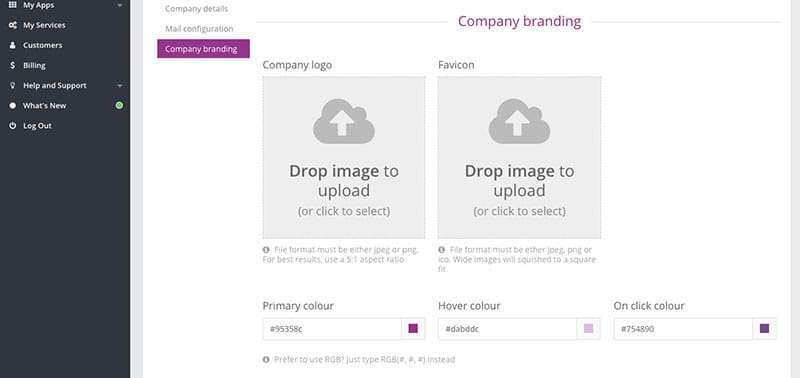
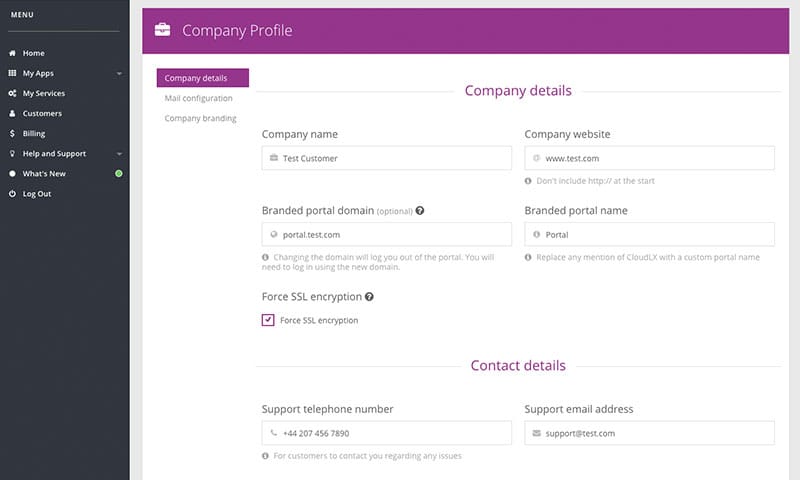
The CloudLX portal can easily be re-branded to resemble the look of a Data Centre Operator/Carrier's existing web site or branding.
The branding flows down to the End-Customer level, making it look the same as the DC/Carrier level. This is brilliant for having that bespoke feel which CloudLX offers so well.
The elements that can be changed include:
- Company details (i.e. name, website (URL) and logo)
- SSL Encryption (i.e. use of HTTPS) requires the certificate for the relevant domain to be uploaded to the CloudLX platform (contact Account Manager if needed)
- Support details (i.e. phone number and email address which feeds through to the form in the Support section)
- Portal URL (i.e. infiny.cloud )
- This requires a CNAME, pointing to infiny.cloud , in the DNS representing the domain, (i.e. 'yourcompanyname.com')
- Service ordering email and phone number
The color scheme and company logo can be changed to follow existing brand guide lines and keep continuity onto the End-User Services.
